Using Automatic Outlines in Google Docs

Do you write long documents and get tired of scrolling up and down all the time? In this article we’re going to see how easy it is to use automatic outlines with your Google Doc.
Turning on Automatic Outlines
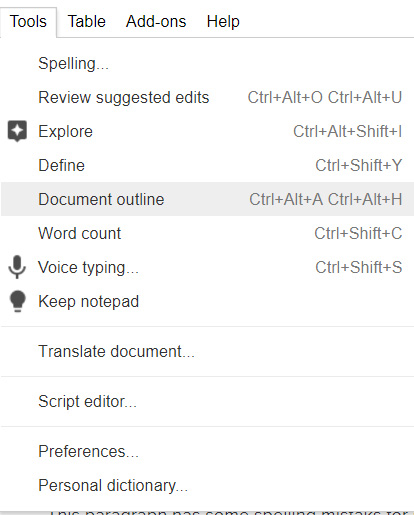
When you’ve got a document that’s several pages long, scrolling up and down can start to be a pain. You can turn on automatic outlines by going to the Tools menu and clicking on “Document Outline”.

What It Does
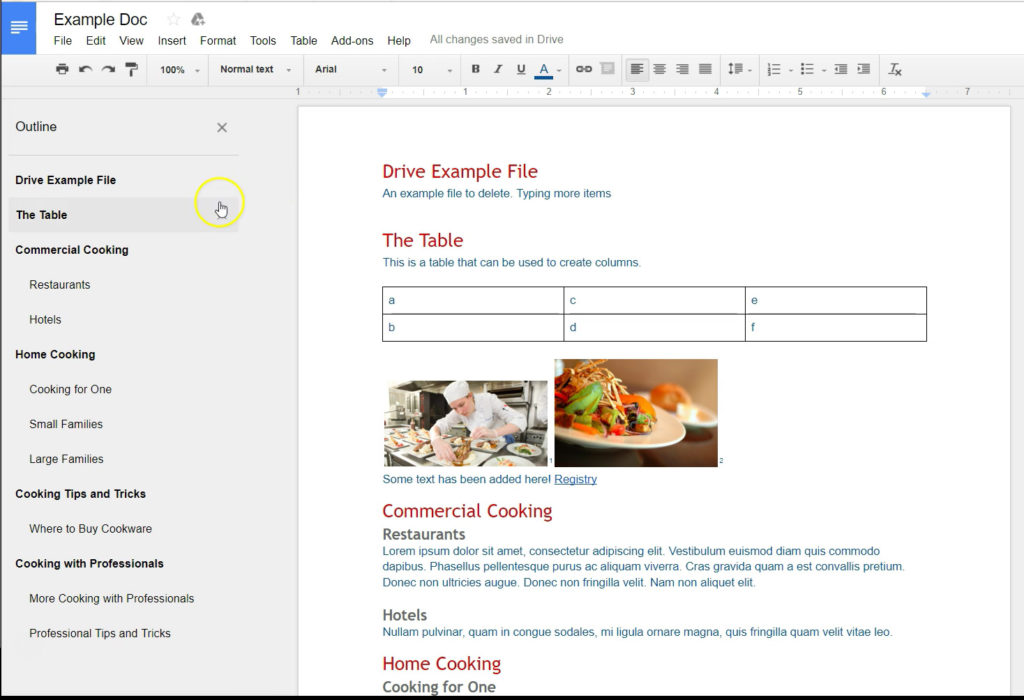
This will bring up a menu on the left side of your screen.

The menu is automatically generated from the headings in your document. It even indents the titles according to what kind of heading you have. Heading 1, Heading 2, three, and so on. This allows you to click on a heading and jump right to that section of your document.
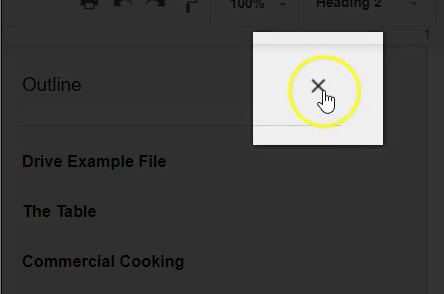
The outline will automatically update when you add new headings. We’ll add one here, and see how it updates the outline. If you need the screen space and don’t want the outline open any longer, you can just click on the “X” in the corner to close it.

This is a simple, yet very nice tool to have.
Watch the Video
Watch the Google Docs automatic outline video to see it in action.
I hope you found this article to be helpful. Comment below to and let me know what you think.
Learn more about Google’s amazing office apps with the Google Cloud Productivity course on Udemy.
