Creating Quizzes With Google Forms
Did you know that Google Forms can be used to create quizzes? In this article we’re going to see how easy it is to do that.
What Are Google Forms Quizzes Good For?
Quizzes can be delivered to students, new employees, or in any situation where you need to assess somebody’s knowledge. With a Google Forms quiz, you will be able to assign point values to questions, add explanations to each question for clarity, and of course, see the responses as a graph and summary so you can easily assess how your respondents have done.
How to Create A Quiz
There are a couple of ways that you can start making a quiz. Starting with the Google Forms home screen, choose “Blank Quiz” from the templates.
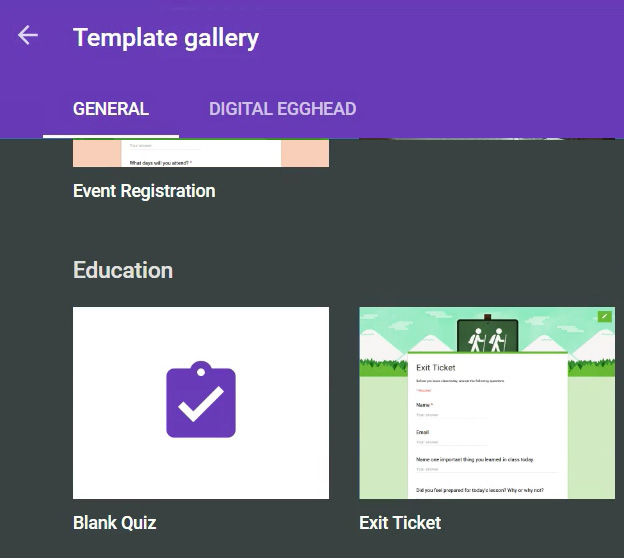
This will open a new form that is set up as a quiz. If you already have a form that you want to turn into a quiz, you can do that too. At the top of the screen, click on the gear icon and select the “Quizzes” tab.
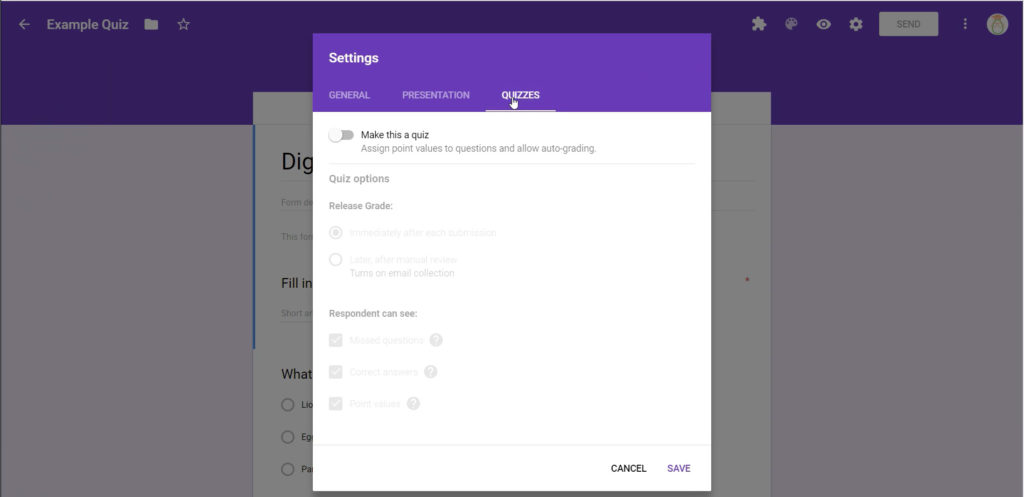
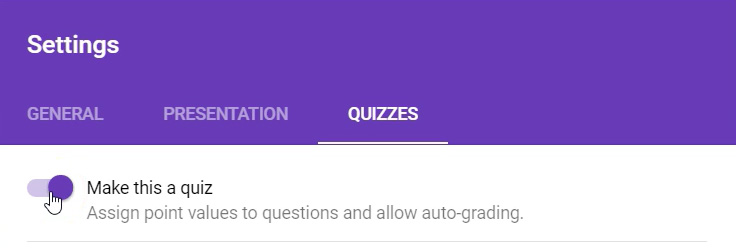
Then click on the slider button next to “Make this a quiz”
Setting Up Your Quiz
Set whether we want the grade for the quiz to be released to the user immediately after submitting, or later after you’ve reviewed it manually.

If you choose manual review, this will turn on email collection for the user so that you can communicate with them.
At the bottom, there are a few options that are checked by default. These allow you to control some of the things respondents can see. Which questions they miss, what the correct answers are and the point values for each question. Uncheck any of these options that you don’t want your users to see.

Using the Answer Key and Adding Feeback
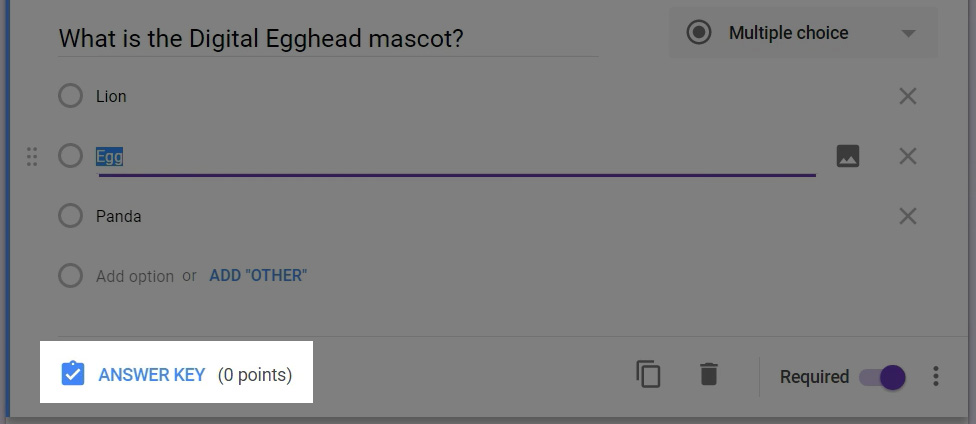
When you’re setting up your questions, you’ll notice there is a blue “Answer Key” link at the bottom. Click on this to see some options for the question.
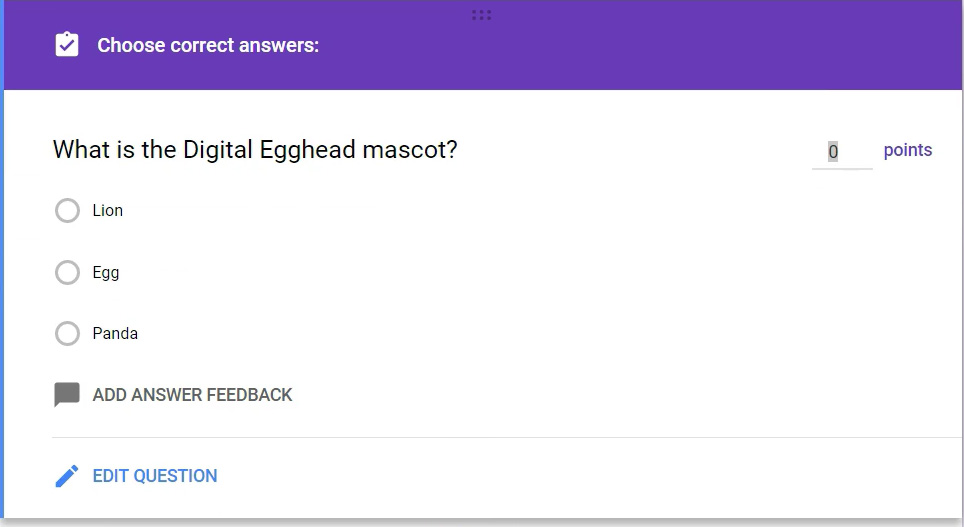
In this section you will need to choose what the correct answer is.
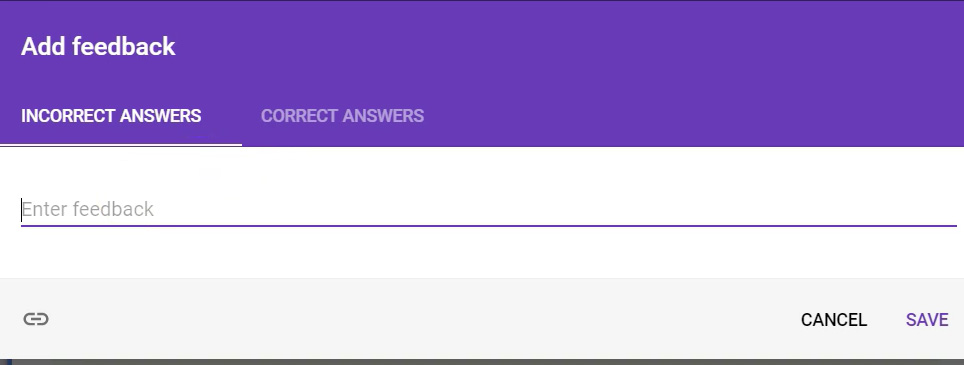
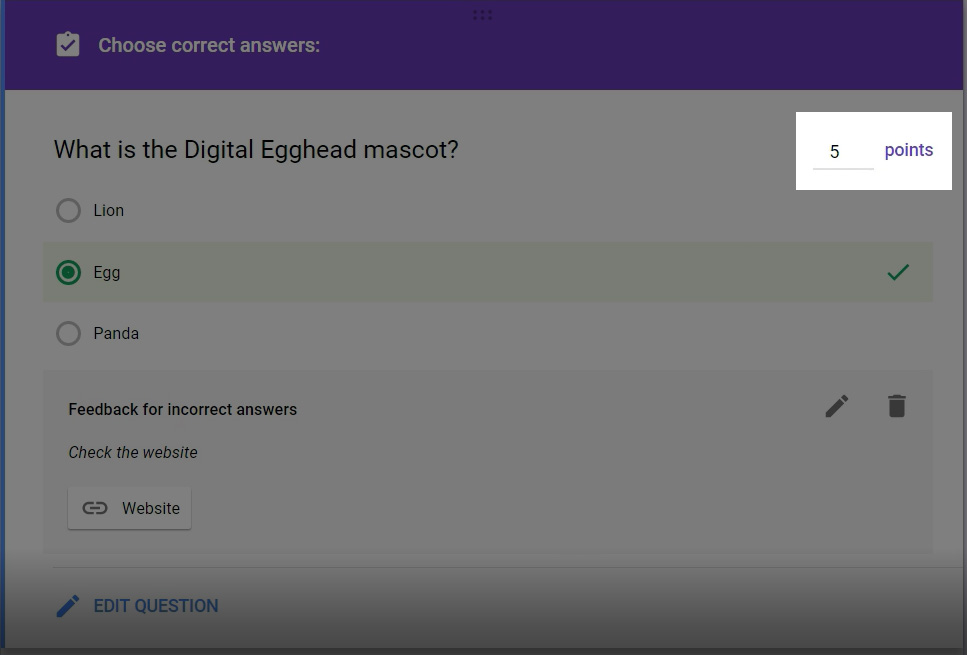
You can also enter some feedback text by clicking on the “Add Answer Feedback” link at the bottom of the question.
You can then enter some text that will display when an incorrect answer is chosen. This is useful to help point users in the right direction if they’ve chosen a wrong answer.
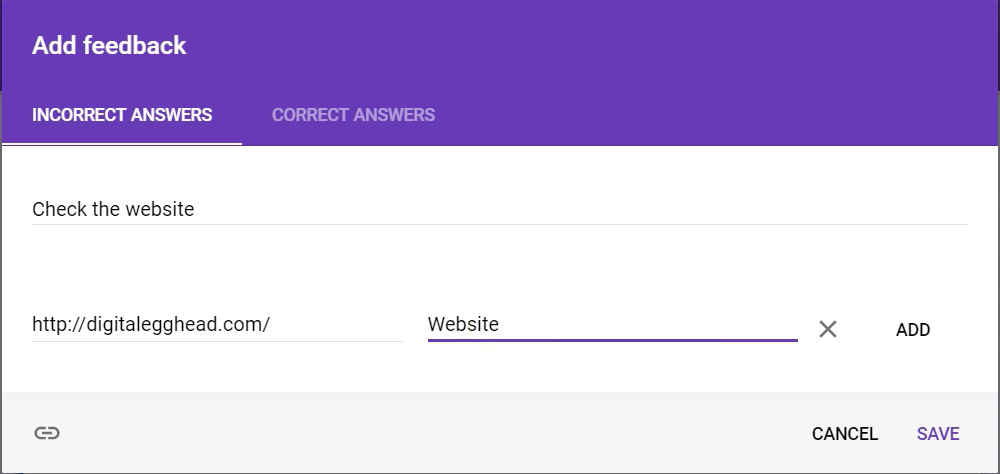
When you add feedback, you can also add a link to resources for your respondent to review.
Assigning Point Values
Outside of the feedback box, back in the main form, you are able assign how many points the question is worth. This is in the upper right.
After Filling Out A Quiz
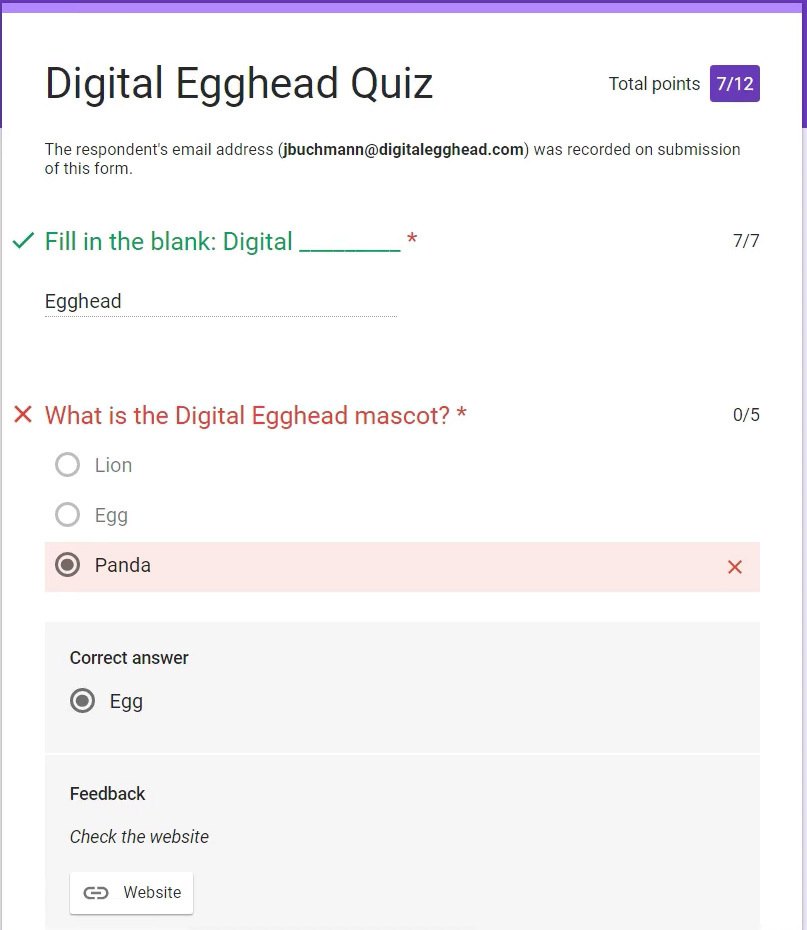
After a student is done with a quiz, they will see a link to “View Your Score” (if you have that option turned) on and see their results.

After clicking on the link, they will see all of the information that you’ve allowed them to see. The total score is in the upper right. They will see the feedback for any questions that were missed. If you entered a link, it will be clickable, so the user can click on it and see what they should have answered. This link could send a user to a Google doc, website, or any other thing that you can link to for reference.
Viewing Quiz Responses
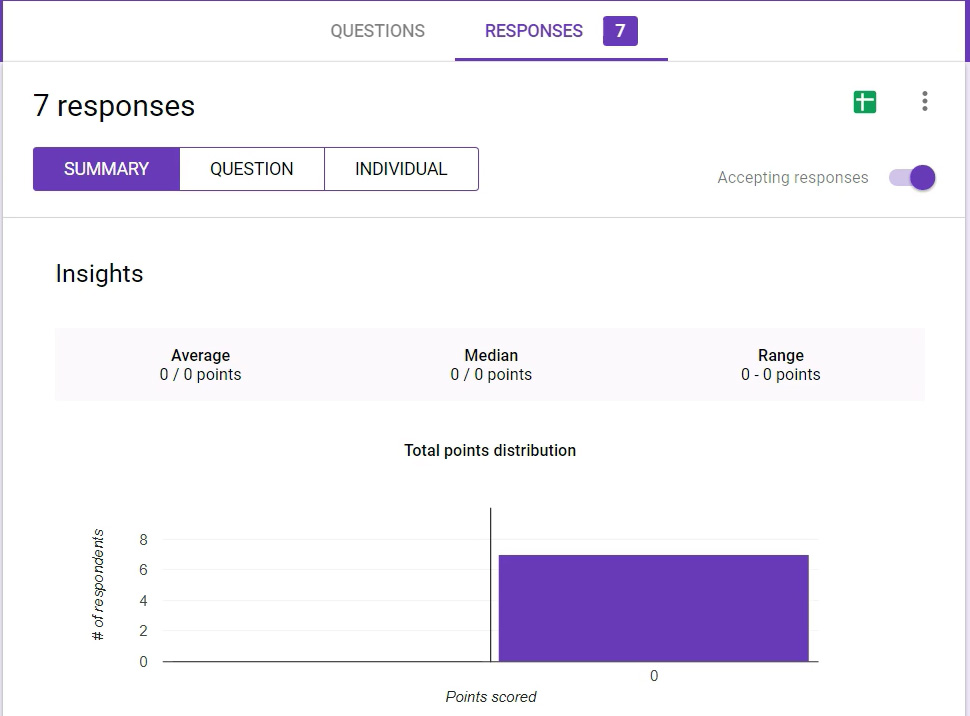
Back in the form setup screen, click on the “Responses” tab at the top to see results for everyone who’s filled out your quiz. The first is to view as a summary. This gives you a summarized version of all the responses in a graph format. You can also view each question’s answers. This shows how many times each answer for each question was selected. Lastly, you can see the answers chosen by each respondent.
One More Thing
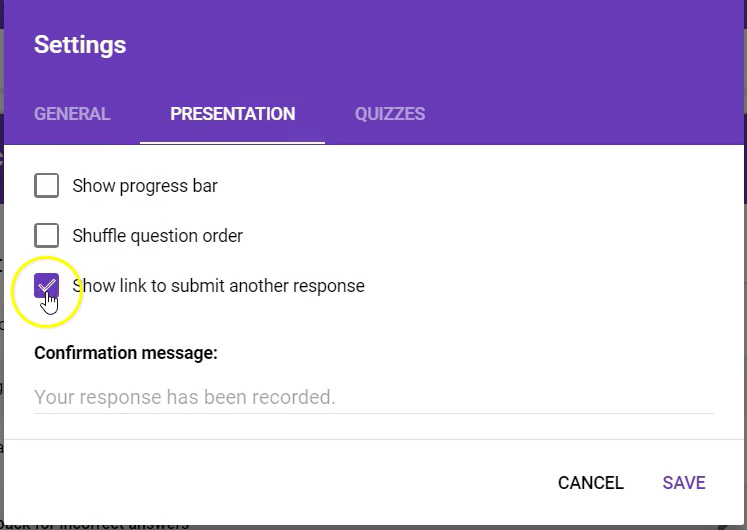
One thing I want to point out is that you may want to turn off the ability to submit additional responses. This is located under the “Presentation” tab and is ‘on’ by default.
And that’s how to create quizzes with Google Forms!
Watch the Video
Watch the video on creating quizzes in Google Forms to see it in action.
I hope you found this article to be helpful. Comment and let me know what you think.
Learn more about Google’s amazing office apps with the Google Cloud Productivity course on Udemy.
